
How to Use CRM to Manage Customer Relationships (Salesforce Edition)
We’re hearing the power player, Salesforce, mentioned alongside tech giants like Workday and ServiceNow. Customer Success and other client-facing job descriptions frequently list Salesforce as a prerequisite or preferred requirement. So, what exactly is Salesforce, and how is it applicable to customer success professionals? Let’s dive right in!
The Life-blood of Salesforce
Six offerings unified by core CRM offerings
Previously, organizations manually handled all customer data across industries and functions, from the initial sales pitch to product deployment. Cloud-based CRM (customer relationship management) platforms can now centralize customer data, making it easily accessible over the internet. Salesforce, one of the earliest players in this field, uses a cloud-shaped logo to represent its mission. Salesforce’s cloud-based CRM solutions are tailored for different industries, with six main offerings (called “clouds”) customized to fit various workflows. These include Sales, Service, Marketing, Commerce, Experience/Community, and Analytics Clouds, complementing the fundamental Salesforce CRM platform. At its core, this platform aims to provide a comprehensive overview of the customer’s life cycle by centralizing information, linking data, and automating workflows. To understand how this benefits customer success and customer service professionals, we’ll first focus on the basic features of the CRM, including sales, accounts, contacts, tasks, outreach, and dashboards.
Capturing and Managing Leads
Leads section as a first port of call
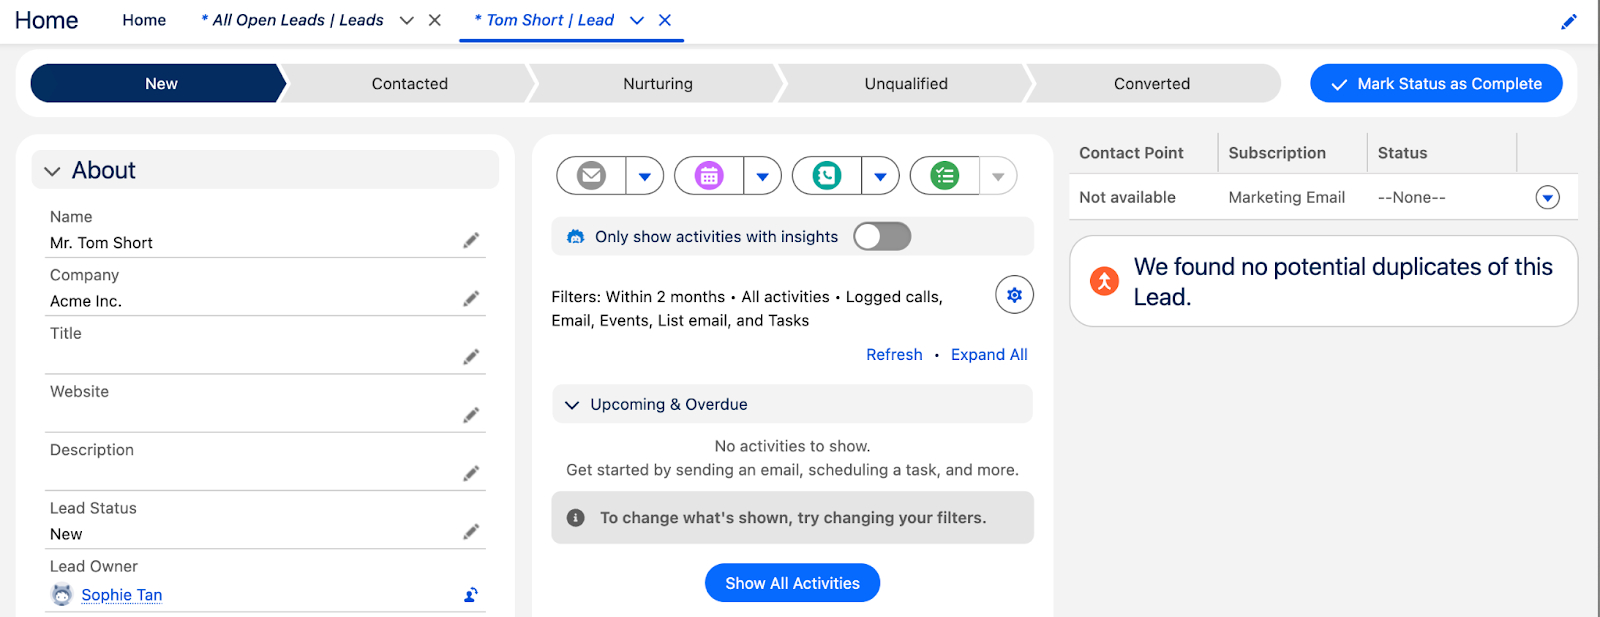
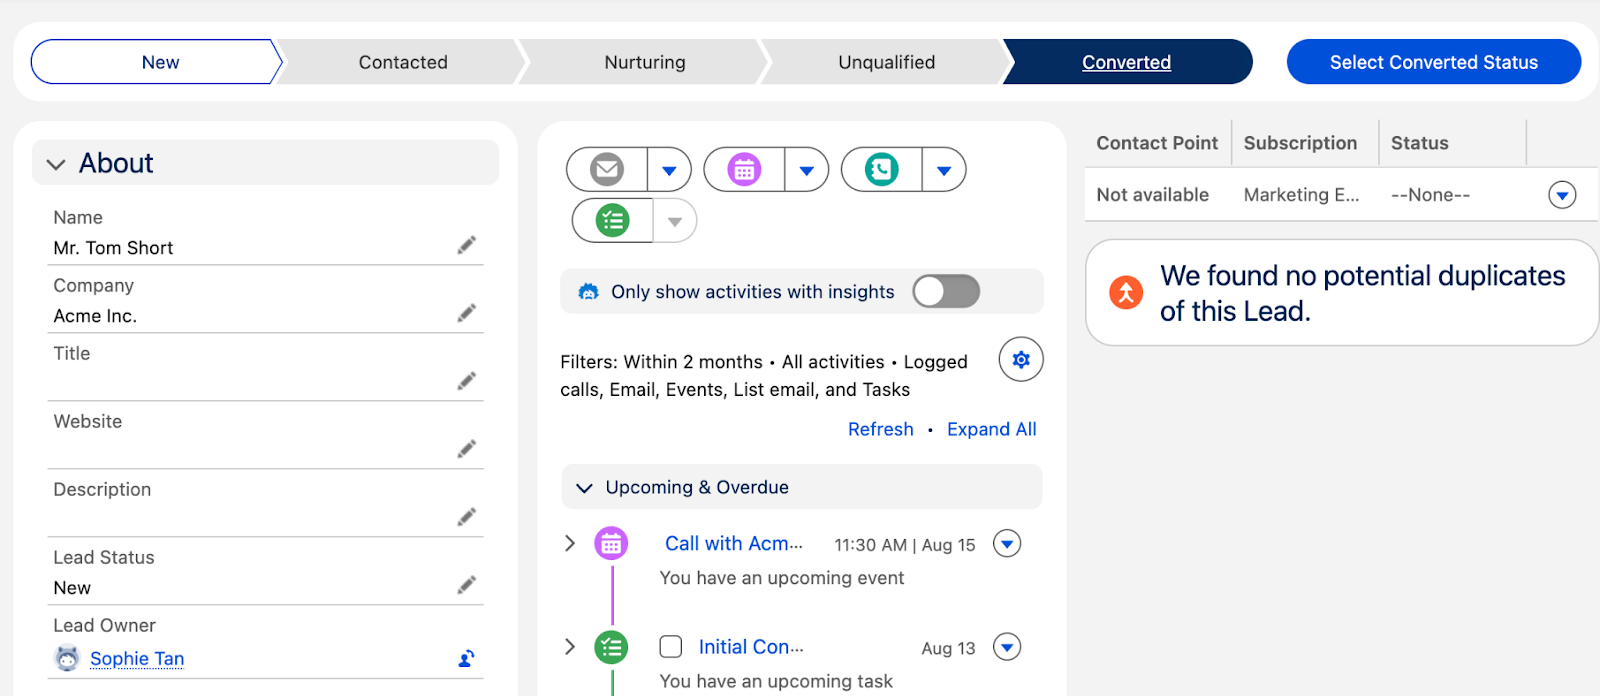
When we meet a contact at a trade or networking event and believe they may be interested in our products or services, we need a quick way to capture their information. This can be done by filing their details under the “Leads” tab. Here, we can quickly capture their name and associated company, and segment them into groups like “New” “Contacted,” “Nurturing,” or “Unqualified.” This categorization helps streamline our interactions and manage our leads efficiently.
Engaging and Qualifying Leads
Features to use to keep your leads warm
Once qualified, we can convert our leads into the “Opportunities” tab through a conversion process. But before delving into that, let’s explore features that help keep our leads engaged during the qualification process. These include events, tasks, and call logs within the leads page, as well as contact lists and email templates under the “Outreach” tab.
Let’s break down these features:
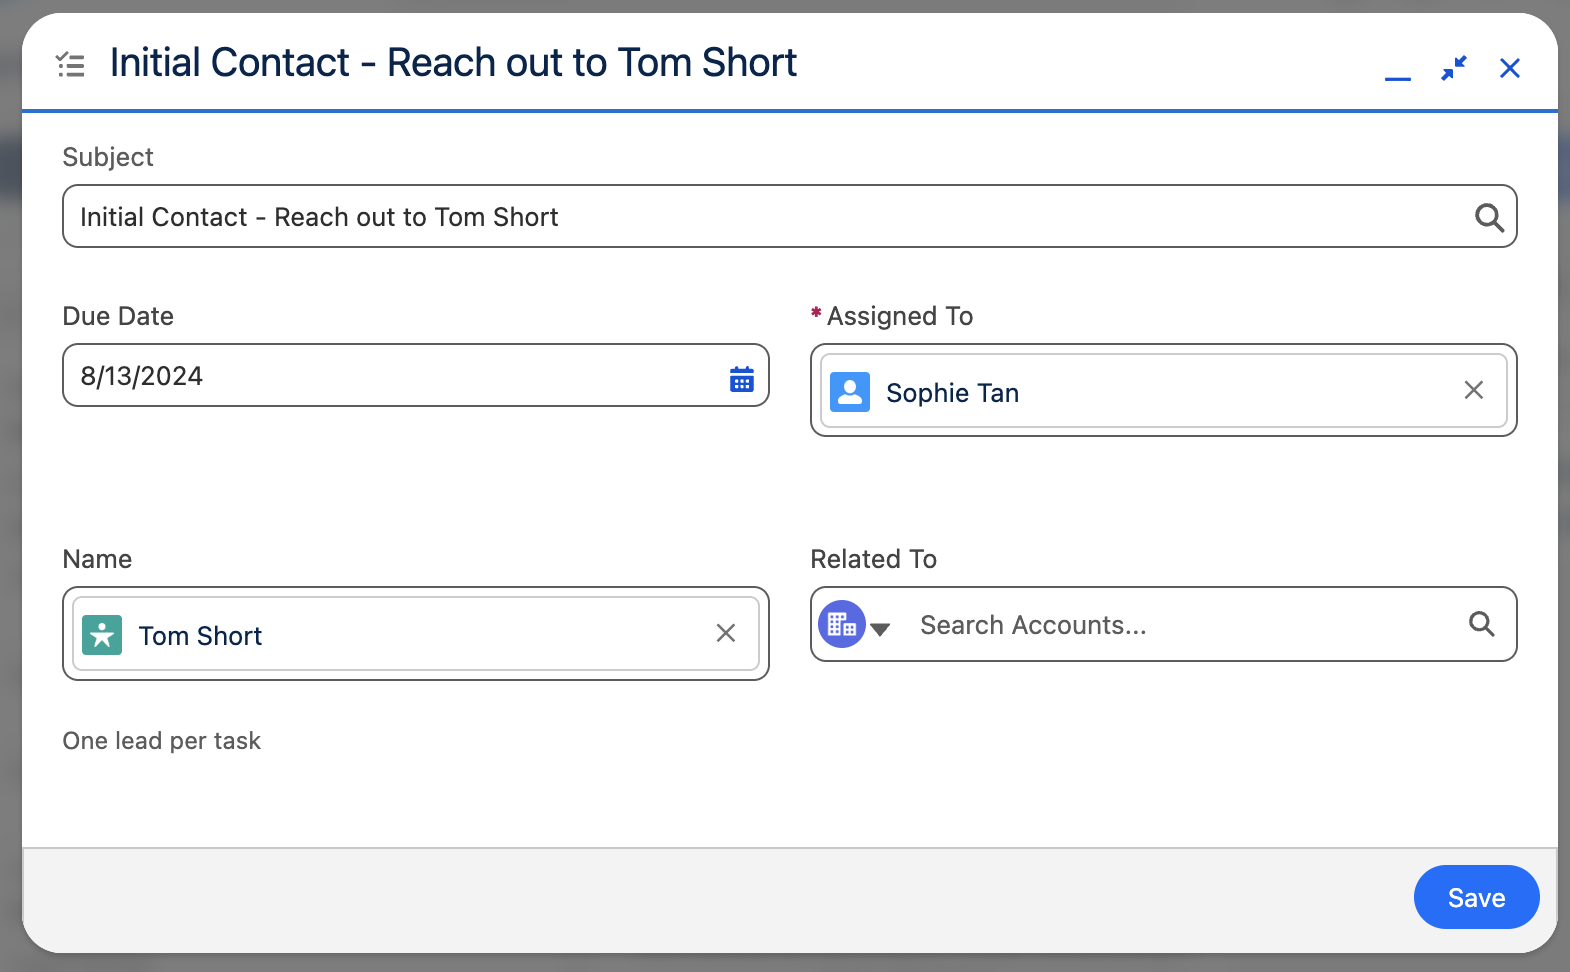
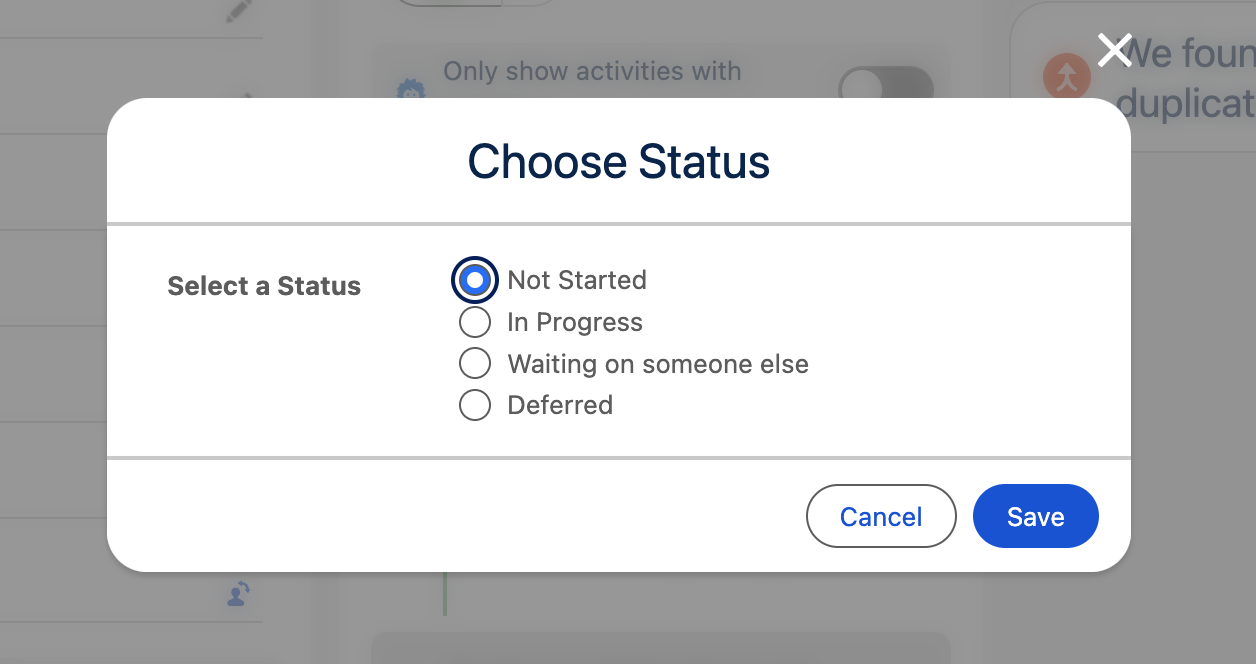
- Tasks: Manage project steps by creating and assigning tasks to team members, setting due dates, and linking accounts. Categorize actions by status to highlight incomplete steps and drive interactions forward.
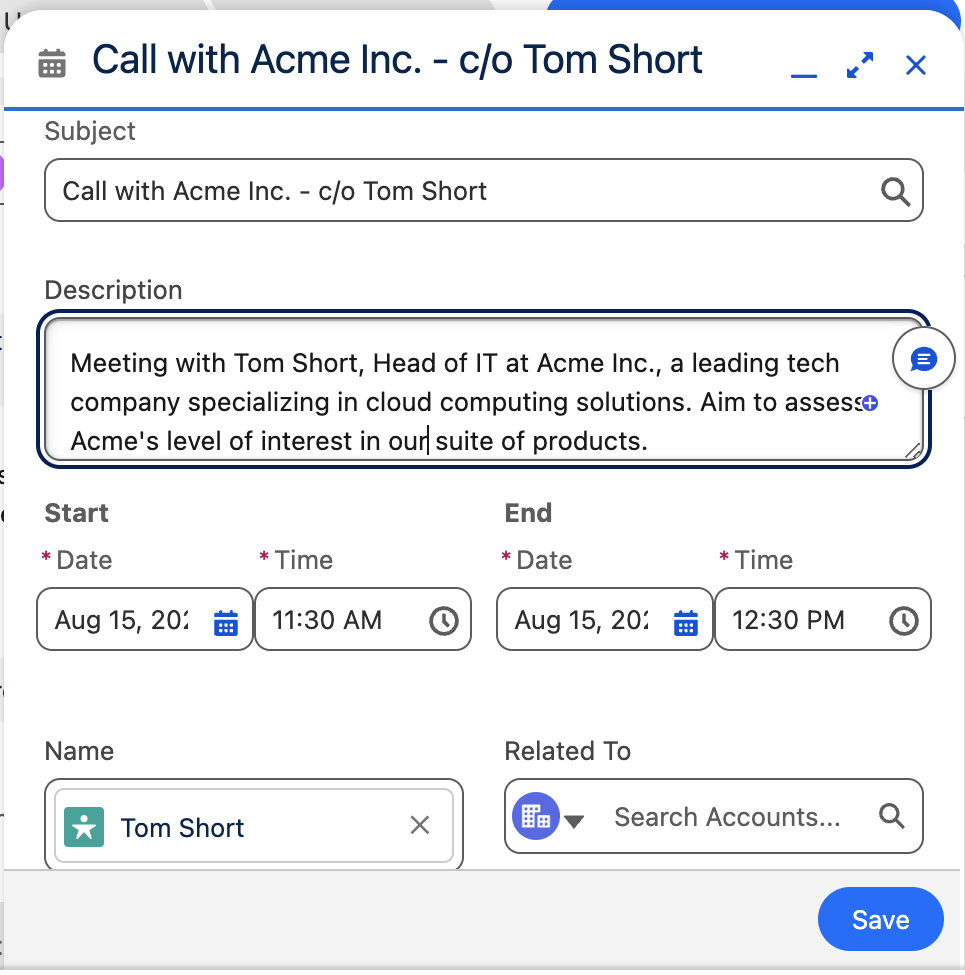
- Events: Schedule meetings, appointments, or other time-specific items. Use reminders and recurring events to stay organized.
- Calls: Log inbound and outbound calls, including details and follow-up tasks, to keep track of interactions.
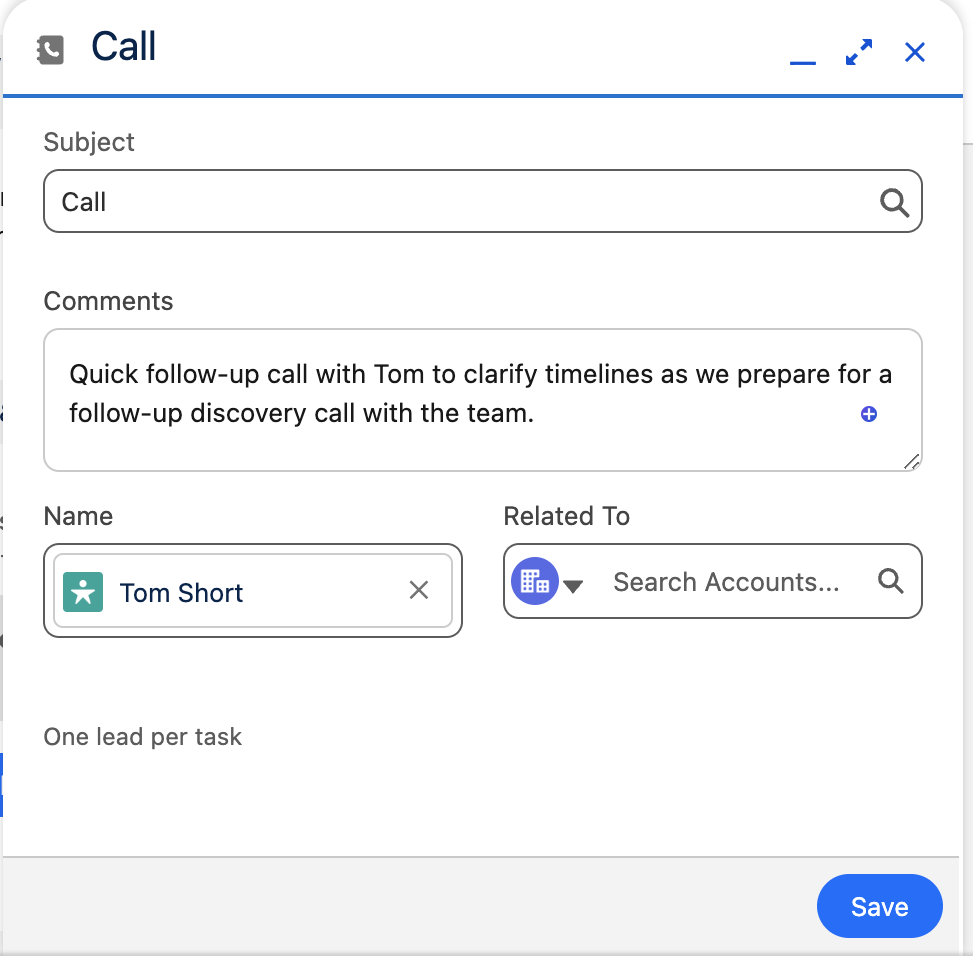
These features provide a 360-degree view of client interactions, essential for keeping relationships active while qualifying leads.
Outreach can also complement efforts to keep our leads warm. These include:
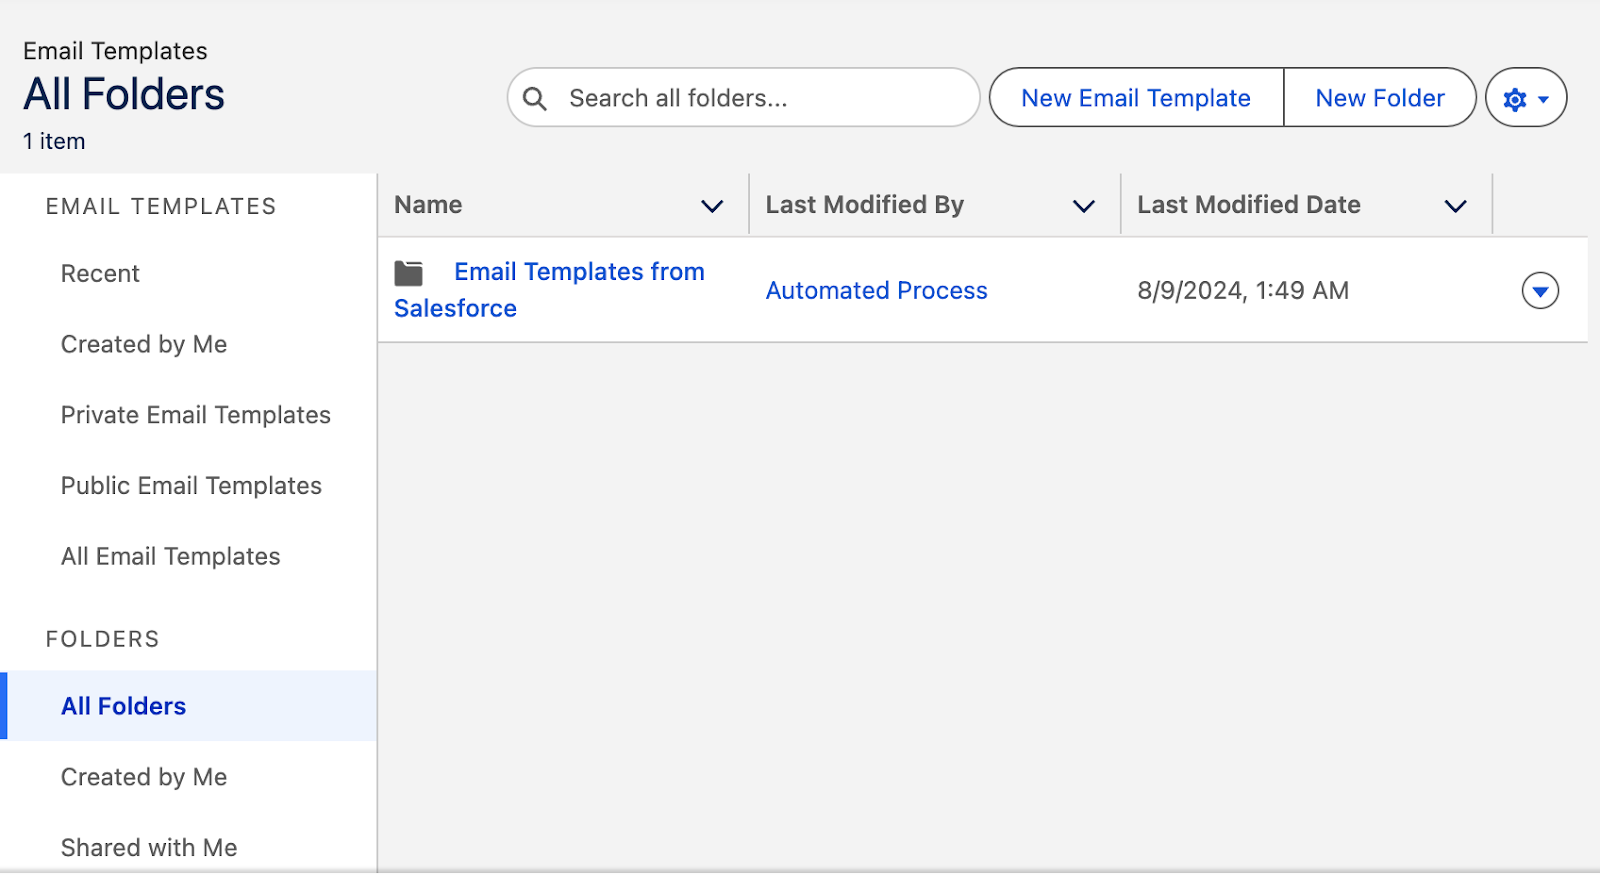
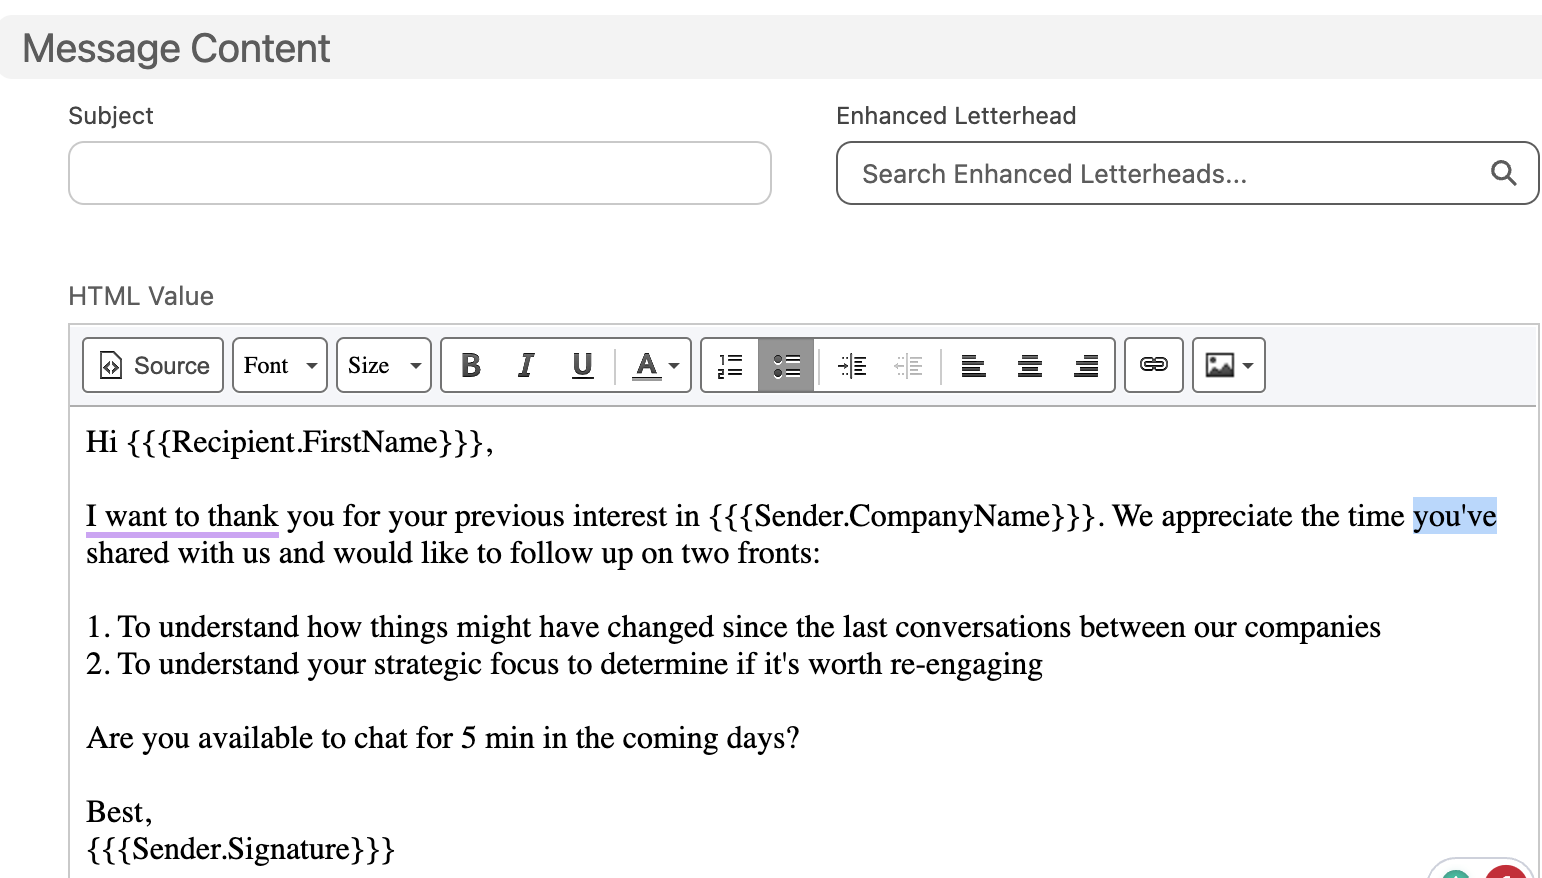
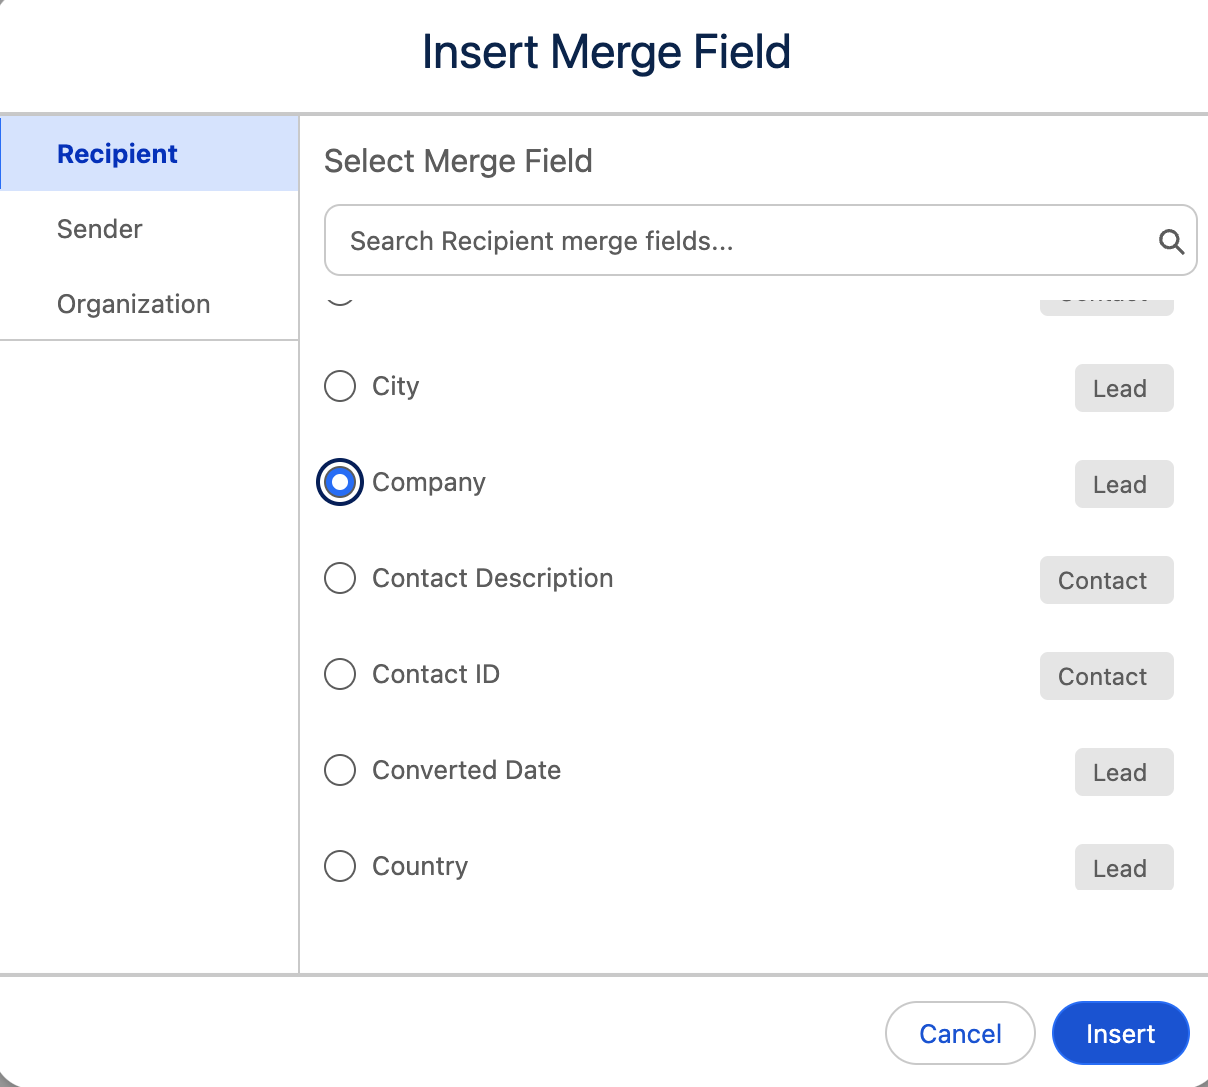
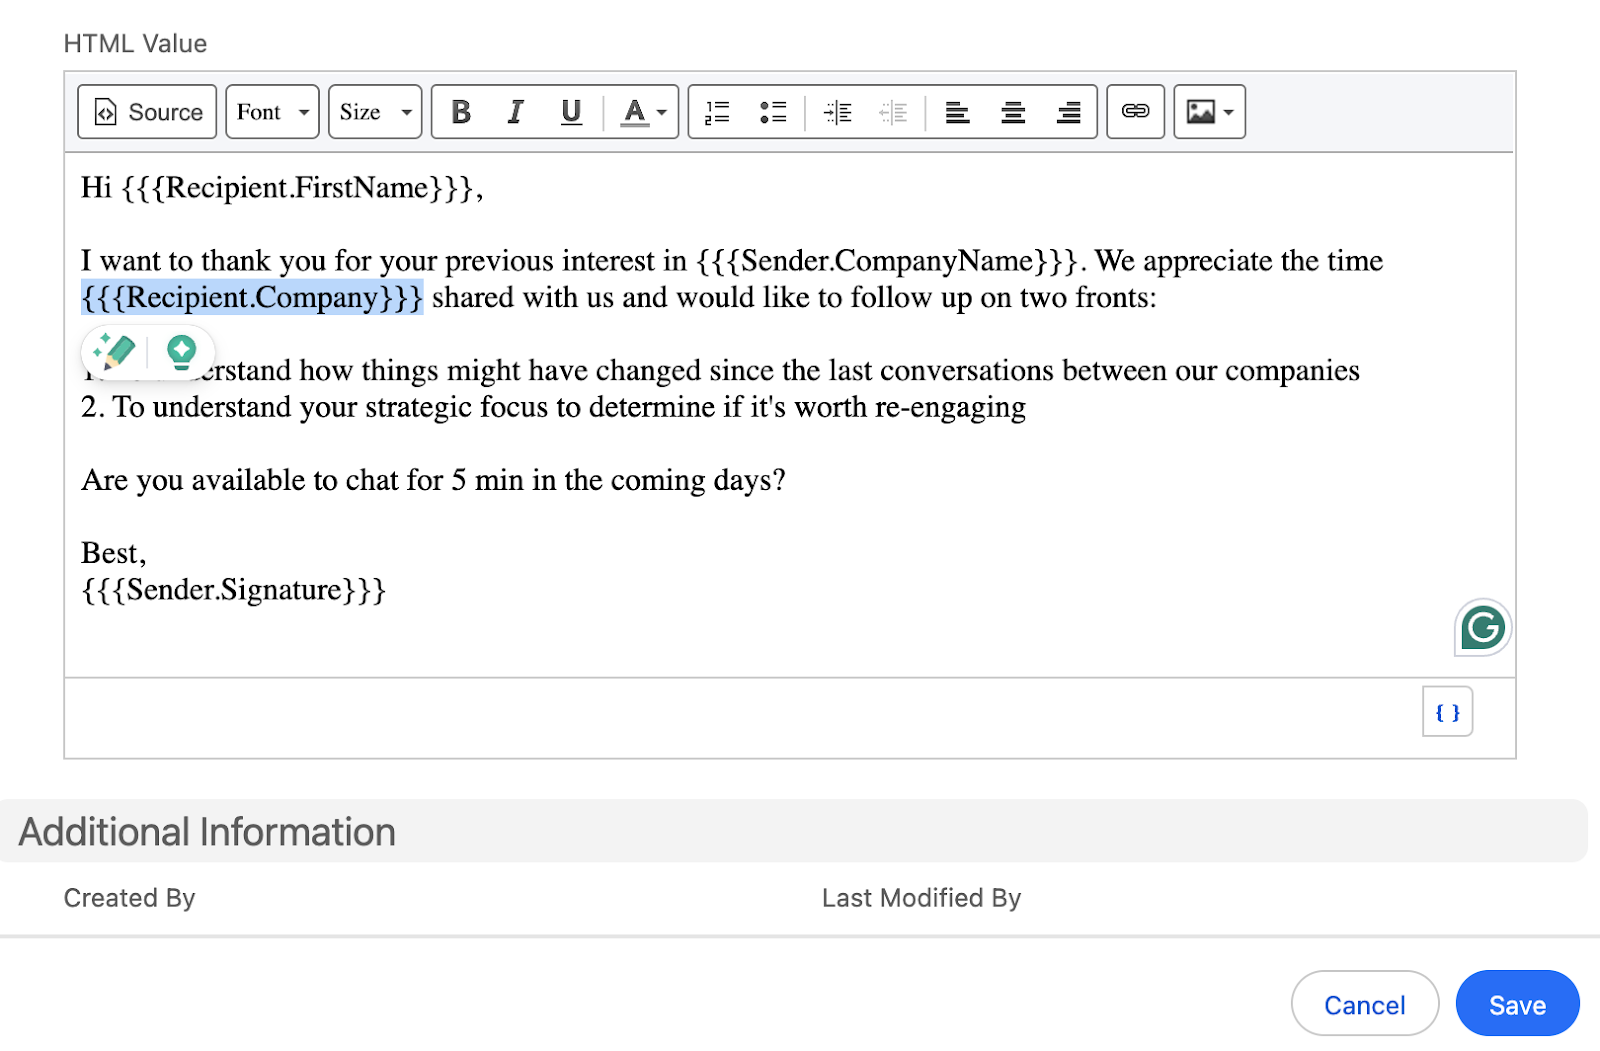
Email Templates: Salesforce has built-in email templates you can use to send to your contacts. Email templates are organized into folders. Alternatively, you can create new templates using merge fields to personalize emails with recipient-specific information from your database.
Contact Lists: Choose who to send your emails to by creating different contact lists.
Converting Leads to Opportunities
After you’ve nurtured and qualified your leads, your entries graduate to “Opportunities,” opening up a new realm of possibilities.
Users can do this through the “convert” button on the leads page.
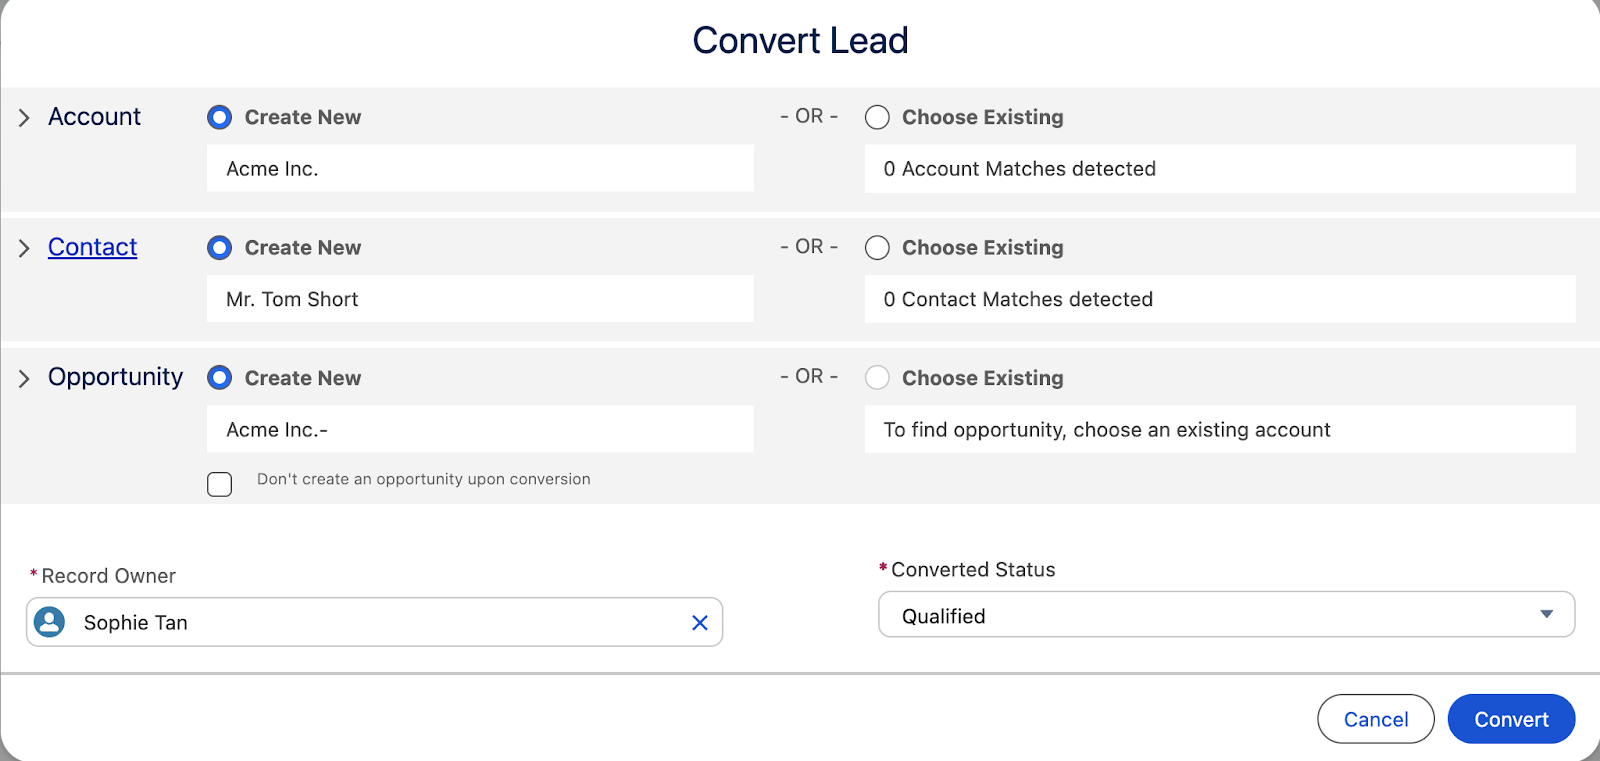
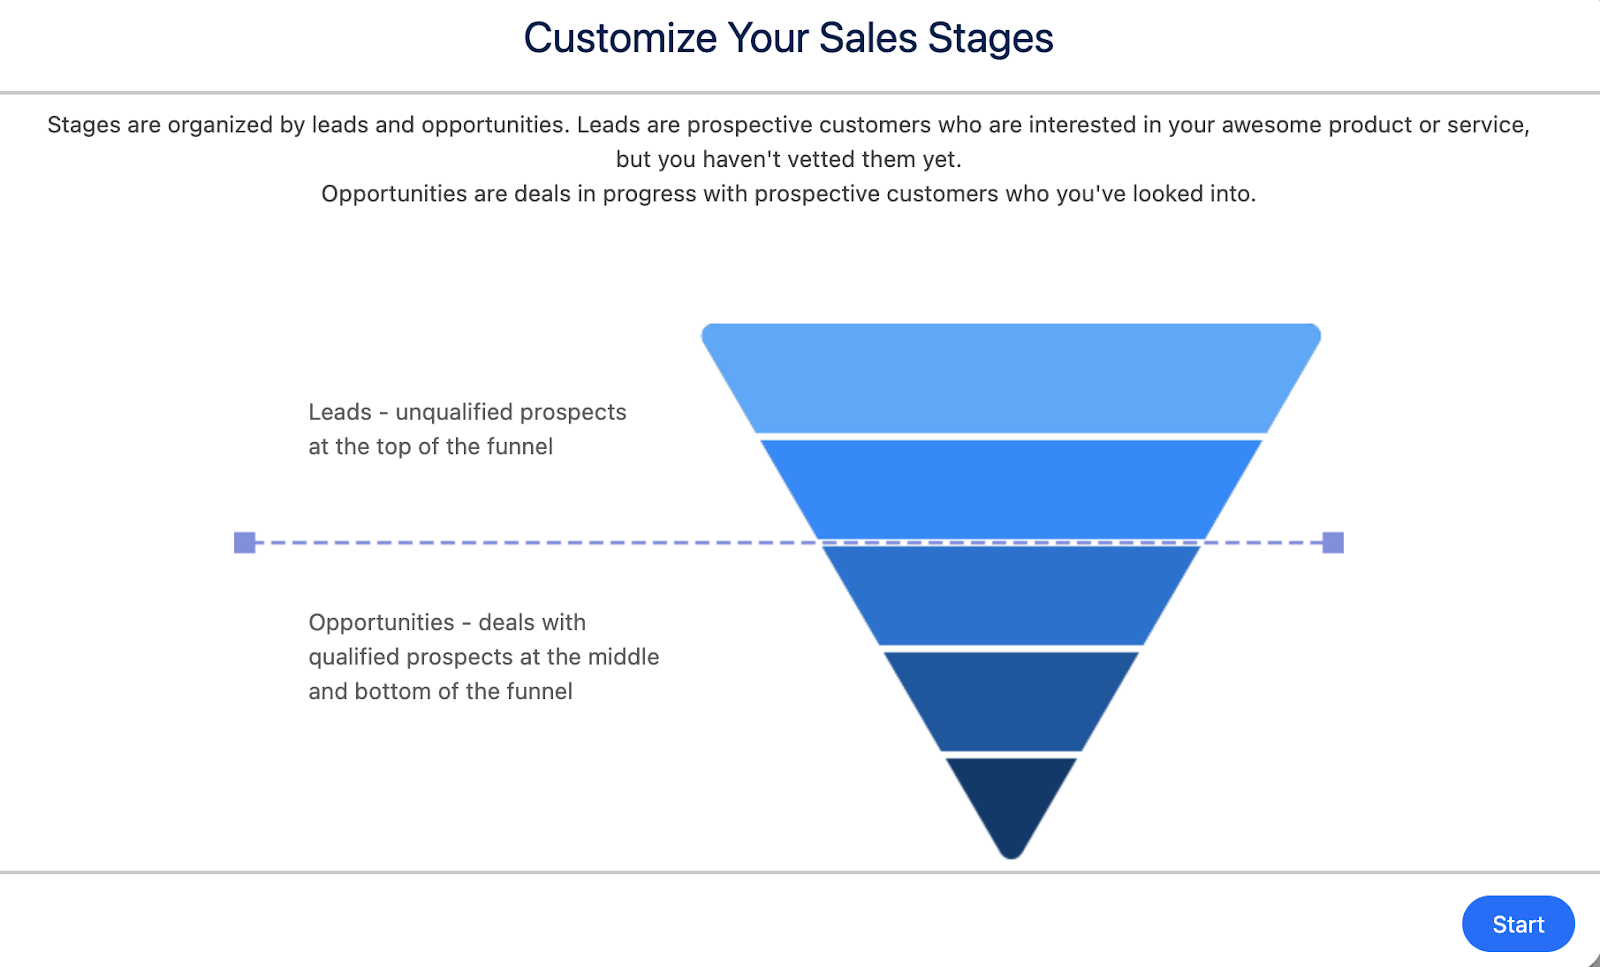
Once converted, a new entry is created under “Opportunities,” and the entry is treated as part of the sales pipeline. For example, opportunities can be classified into stages including “Meet and Greet,” “Proposal,” “Negotiation,” and “Closed (Deal).”
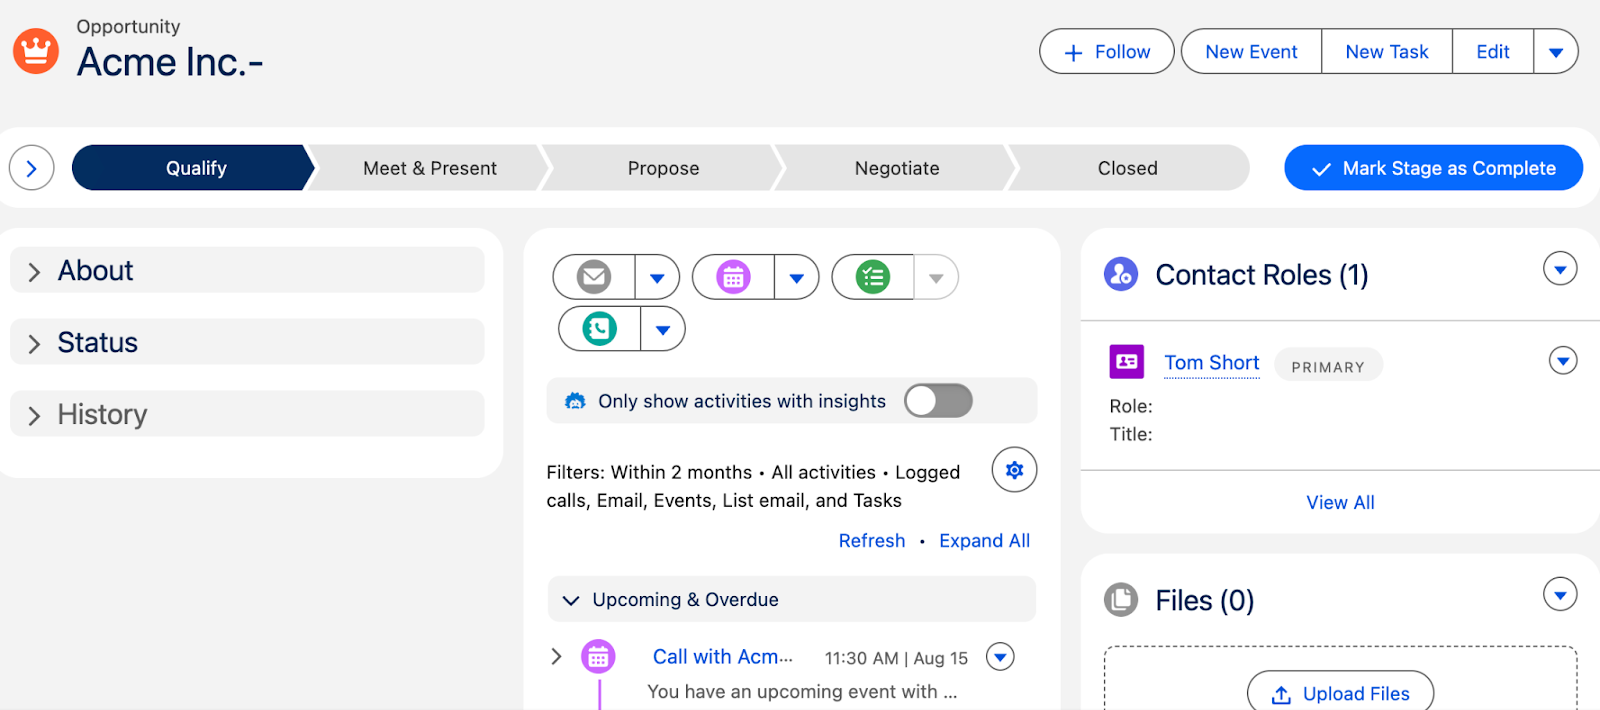
Once entries are converted into opportunities, the “Contacts” and “Accounts” fields also populate to give the user a comprehensive overview of their customer.
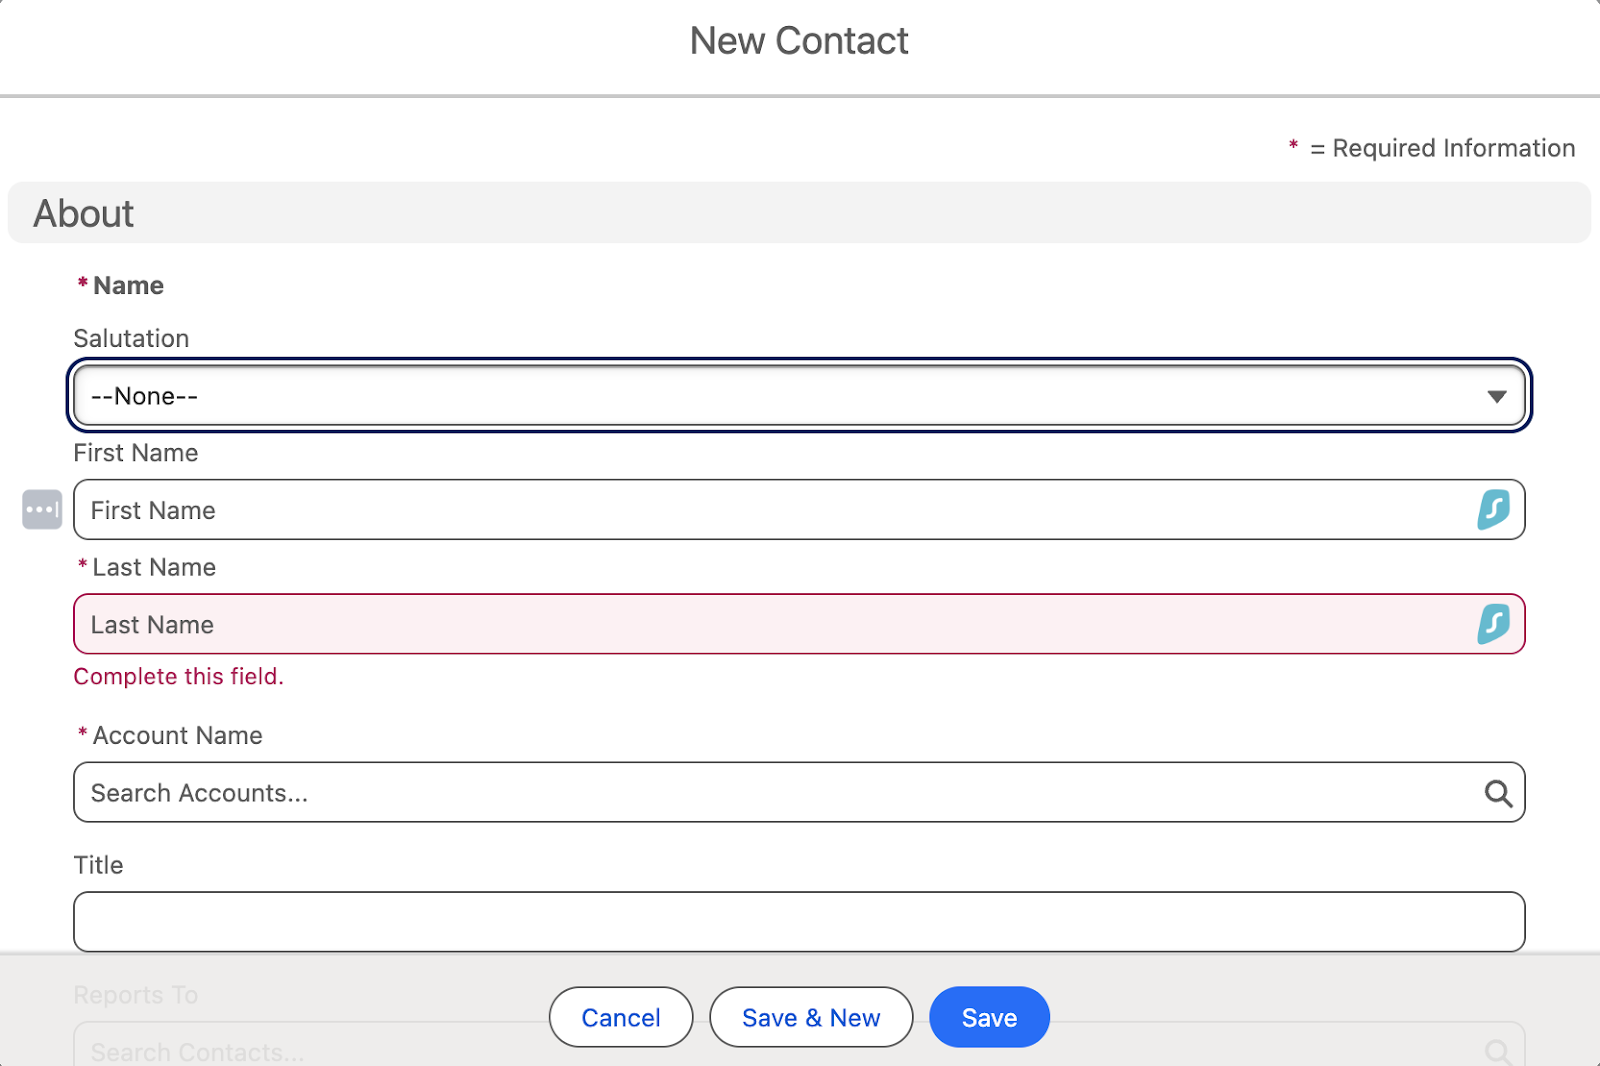
Contacts: Individuals associated with entities you’ve qualified. Include their emails, names, and titles.
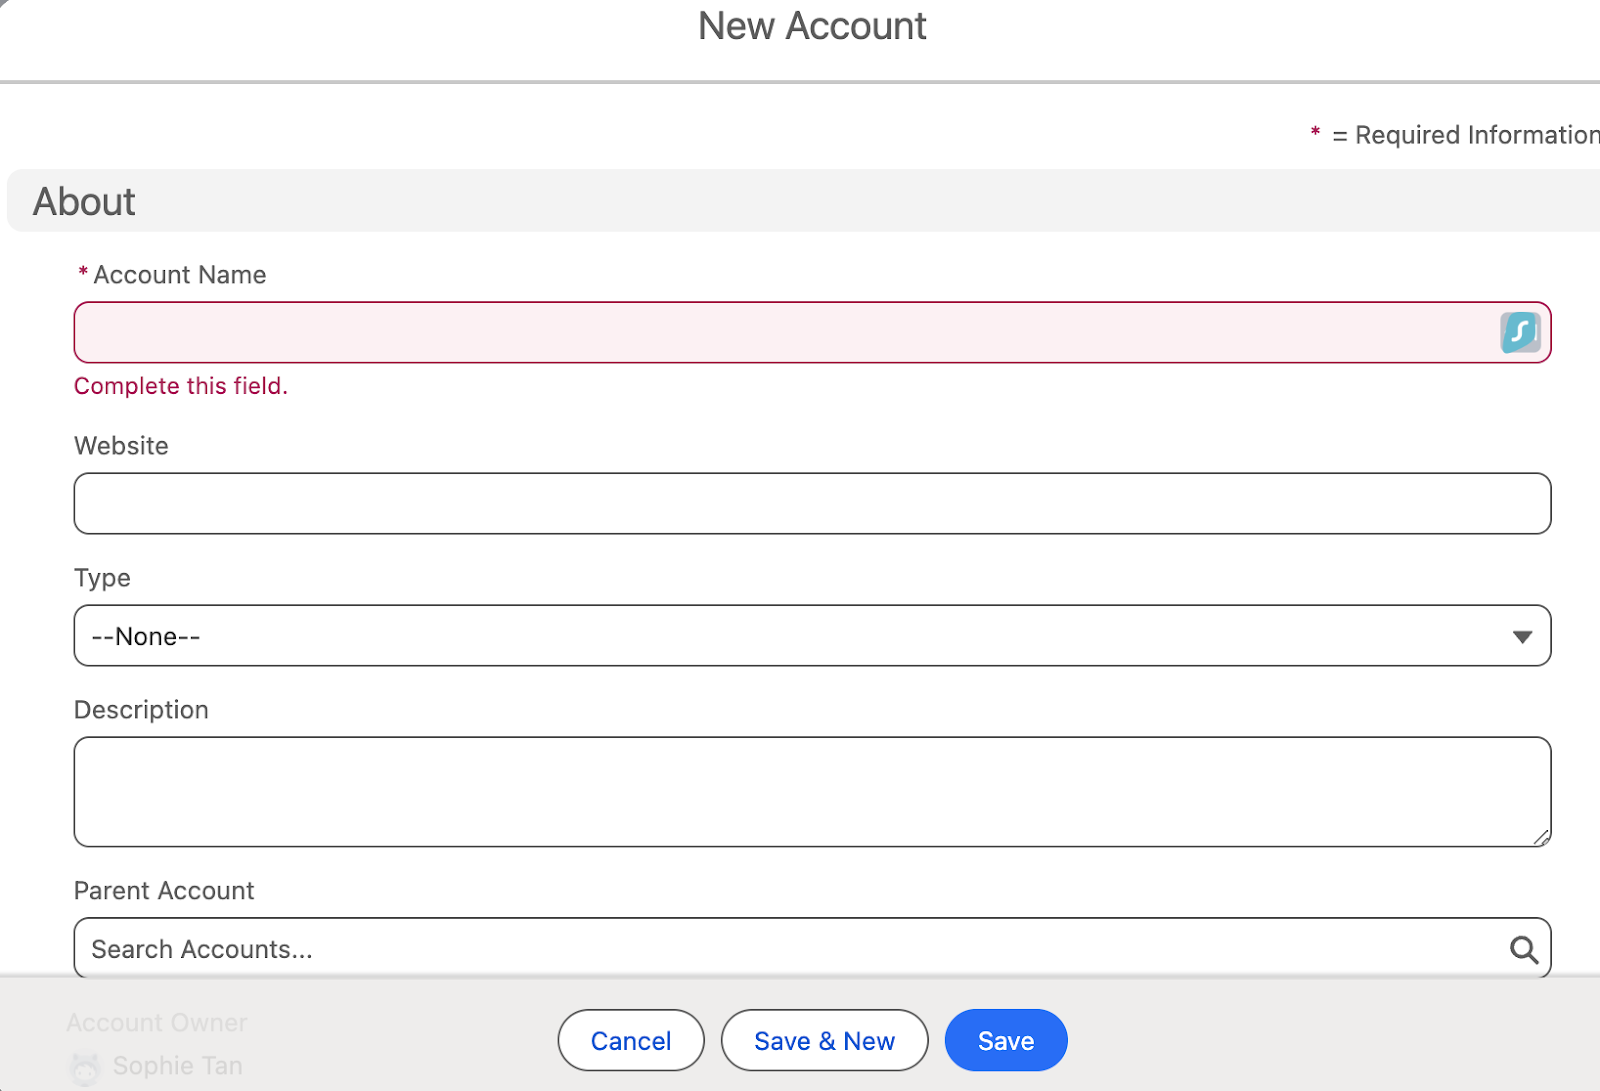
Accounts: Companies or organizations. Include information like billing state and province, and categorize account type (e.g., prospects, customers, vendors, partners).
Utilizing Dashboards for Insights
As you repeat this process a few times, you’ll find that you amass quite a bit of data. The more, the merrier, because data is power and you can aggregate all your data and pull insights through Salesforce’s dashboard and reports features.
Users can choose from Salesforce’s default dashboard templates or build custom components.
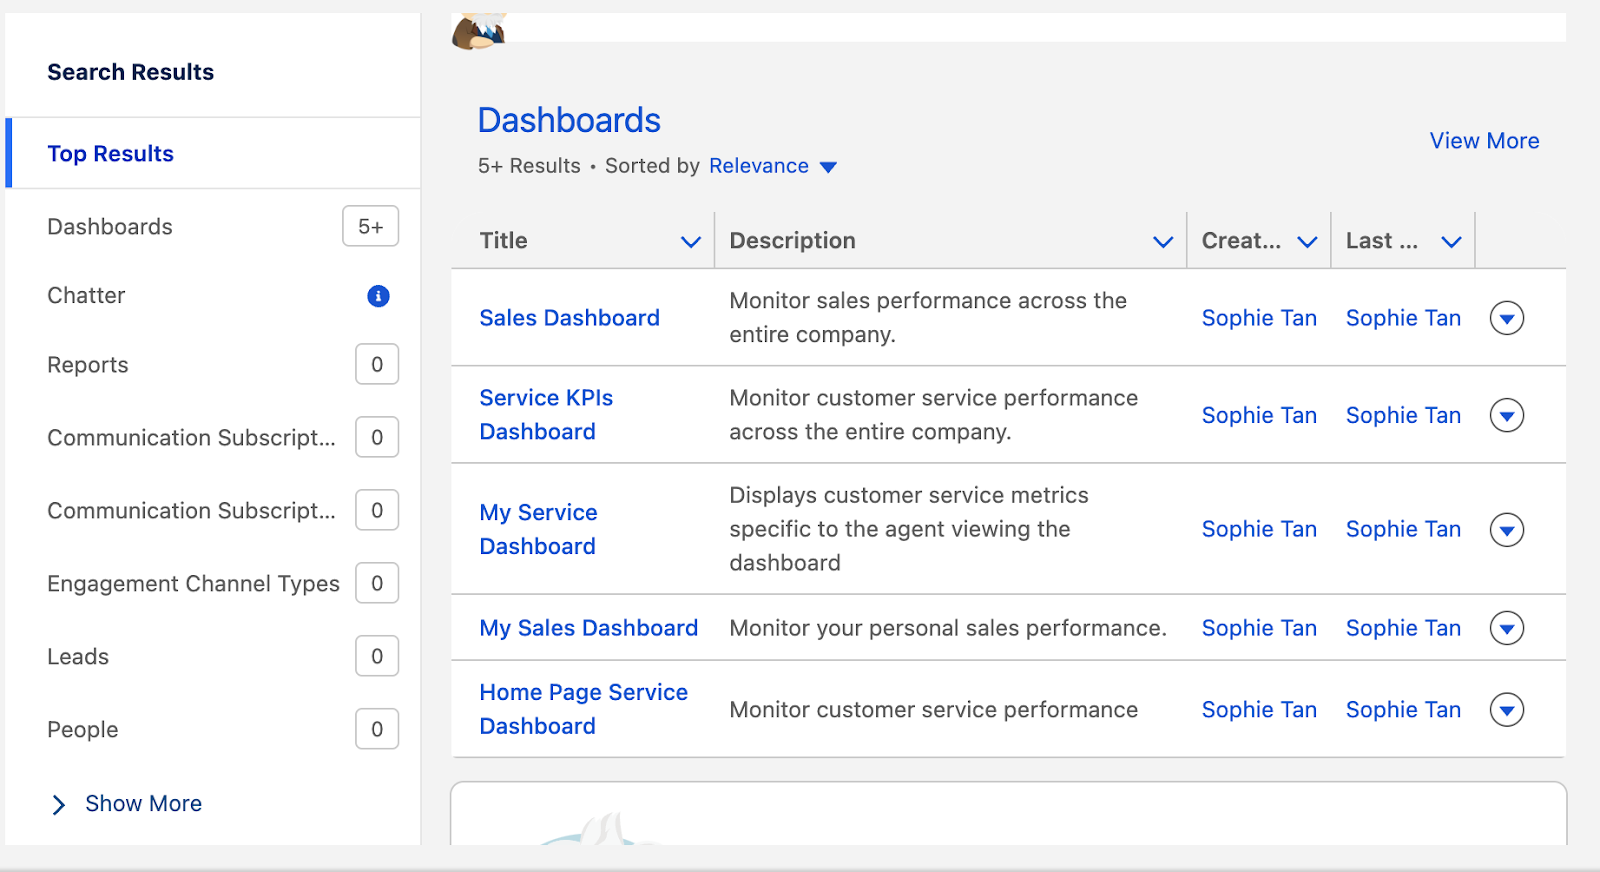
To create a new template, determine the metrics you want to track and create a report. Head over to the “Reports” tab, and choose metrics to include. Add filters, groupings, and fields to tailor reports to your requirements.
Once a report is created, go to the “Dashboard” tab in Salesforce and select the relevant reports to visualize. Choose how to visualize each component (bar chart, pie chart, gauge) and configure labels and display settings. Multiple components can be created and arranged within the dashboard.
Takeaways and where we go from here
In this blog post, we explored the essential features of Salesforce for customer success and client-facing professionals, including lead management, opportunity tracking, and dashboard creation. Now that you’ve got a good grasp of the Salesforce basics, think about how we can streamline your process even further with workflow automation and interactive AI features. This way, you can spend less time digging for information and more time finding creative ways to delight your customers. Keep an eye out for our next article, where we’ll dive into Salesforce’s Einstein CoPilot AI features, how to customize field entries and workflows, and tips for enhancing knowledge management.